【n8n教程】:搞定凭证配置!让你的工作流畅通无阻
很多初学者在刚接触 n8n 时,能画出漂亮的工作流,但一运行就报错——401 Unauthorized。别慌,这通常是因为你没有给 n8n 也就是工作流的“通行证”(Credentials)。
今天我们就来攻克这个关卡,只需 3 分钟,学会创建、管理和共享凭证,让你的自动化流程畅通无阻。
一、 什么是凭证(Credentials)?
简单来说,凭证就是 n8n 访问外部服务的“钥匙”。
当你想要 n8n 帮你读取 Google Sheets 表格、发送 Slack 消息或调用 OpenAI 接口时,这些服务需要确认“你是谁”以及“你有权限吗”。你将 API Key、用户名密码等机密信息存放在 n8n 的“凭证库”中,工作流运行时会自动取用,既安全又方便。
二、 如何创建凭证?
创建凭证非常直观,就像在手机里添加新的 Wi-Fi 密码一样。
步骤演示:
- 1. 找到入口:
在 n8n 左侧侧边栏菜单中,点击 Credentials(凭证)。
- 2. 新建凭证:
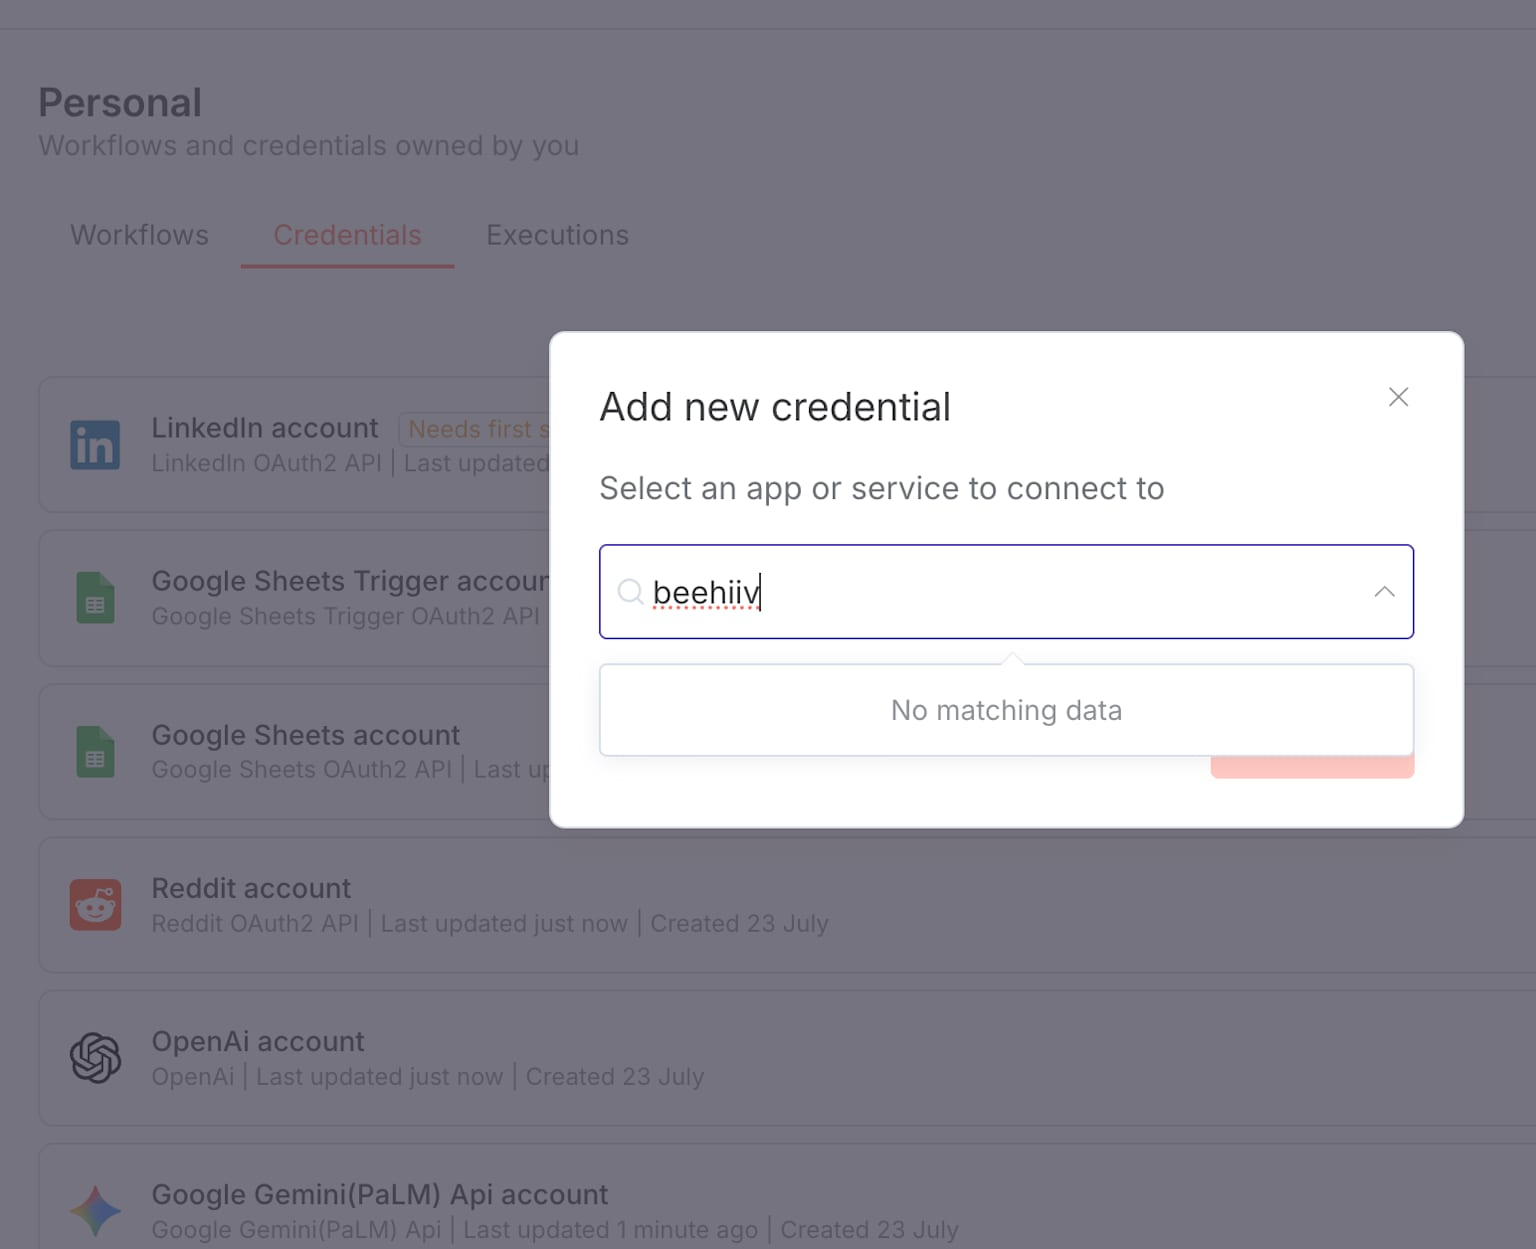
点击右上角的 Create credential(创建凭证) 按钮。 - 3. 选择服务:
在弹出的搜索框中,输入你要连接的服务名称(例如Notion、Telegram或HTTP Request)。
- 4. 填写信息:
根据提示填入 API Key、Access Token 或用户名密码。导师提示:如果不清楚某个 Key 怎么获取,n8n 的凭证填写界面通常会有一个 "Documentation"(文档)链接,点进去会有手把手的官方指引。
- 5. 保存测试:
点击 Save。n8n 通常会立即测试凭证是否有效,如果看到 "Connection tested successfully" 的绿色提示,恭喜你,钥匙配好了!
三、 在工作流中使用凭证
配好了钥匙,怎么用呢?
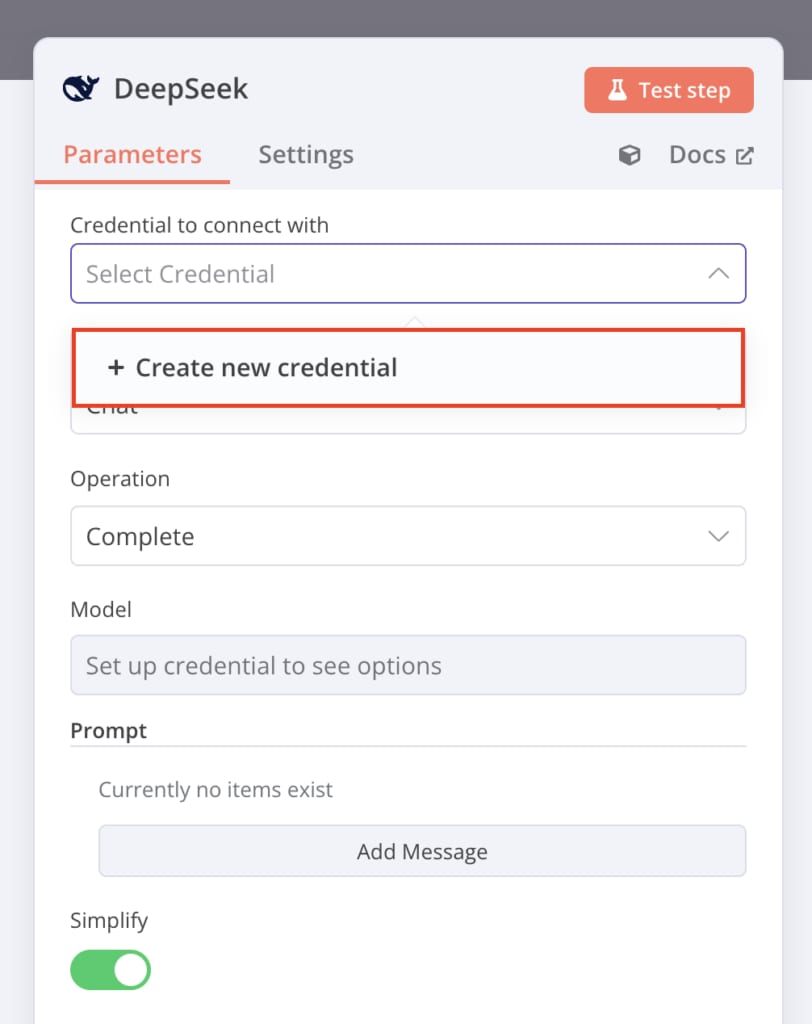
- 1. 打开你的工作流,点击任意一个需要鉴权的节点(比如 HTTP Request 节点)。
- 2. 找到 Authentication(认证) 或 Credential(凭证) 选项。
- 3. 在下拉菜单中,直接选择你刚才创建好的凭证名称(例如
My Notion Account)。
注意:你不需要在节点里重复粘贴 API Key,直接选名字即可。
四、 进阶:凭证共享(Team Sharing)
如果你是在公司团队版(Team/Project)环境中使用 n8n,你可能需要把钥匙分享给同事。
- • 个人空间 vs 项目空间:
- • 如果你在 Personal(个人) 空间创建凭证,只有你能用。
- • 如果你在 Project(项目) 中创建,项目成员都可以使用。
- • 如何共享:
- 1. 在凭证列表中,点击某个凭证右侧的 Sharing(共享) 选项。
- 2. 选择你要共享给的用户或项目。
- 3. 点击保存。
注意:被共享者只能“使用”凭证来运行工作流,通常无法查看明文的 API Key,保障了安全性。[^1]
五、 实战案例
为了让你彻底明白,我们来做一个最通用的练习。我们将使用 n8n 最强大的 HTTP Request 节点配置一个基础认证(Basic Auth)。
场景:
我们需要访问一个需要密码的测试 API。我们将创建一个“HTTP Header Auth”凭证,并在工作流中调用它。
实操代码(可以直接复制):
请将以下 JSON 代码复制,在你的 n8n 画布上按 Ctrl+V (Mac: Cmd+V) 粘贴:
  {
  "meta": {
    "instanceId": "tutorial-example-01"
  },
  "nodes": [
    {
      "parameters": {},
      "id": "8d9f6c3b-2a1e-4b5c-9d8e-7f0a1b2c3d4e",
      "name": "手动触发",
      "type": "n8n-nodes-base.manualTrigger",
      "typeVersion": 1,
      "position": [
        460,
        300
      ]
    },
    {
      "parameters": {
        "url": "https://httpbin.org/bearer",
        "authentication": "genericCredentialType",
        "genericAuthType": "httpHeaderAuth",
        "options": {}
      },
      "id": "a1b2c3d4-e5f6-4a7b-8c9d-0e1f2a3b4c5d",
      "name": "HTTP 请求 (测试凭证)",
      "type": "n8n-nodes-base.httpRequest",
      "typeVersion": 4.1,
      "position": [
        680,
        300
      ],
      "credentials": {
        "httpHeaderAuth": {
          "id": "YOUR_CREDENTIAL_ID_HERE",
          "name": "请在此处选择你的 Header Auth 凭证"
        }
      }
    }
  ],
  "connections": {
    "手动触发": {
      "main": [
        [
          {
            "node": "HTTP 请求 (测试凭证)",
            "type": "main",
            "index": 0
          }
        ]
      ]
    }
  }
}
练习步骤:
- 1. 粘贴上面的代码后,你会看到两个节点。
- 2. 双击右边的 HTTP 请求 节点。
- 3. 在 Credential for Header Auth 处,选择
Create New(新建)。 - 4. Name 填
Authorization,Value 填Bearer my-secret-token-123。 - 5. 点击保存并运行节点。
- 6. 如果返回的数据中包含
"authenticated": true,说明你成功掌握了凭证的使用!
引用链接
[1] 官方文档: https://docs.n8n.io/credentials/
[2] n8n系列教程: https://www.undsky.com/blog/?category=n8n%E6%95%99%E7%A8%8B#