【n8n教程】:GraphQL 节点,像专家一样查询 API 数据!
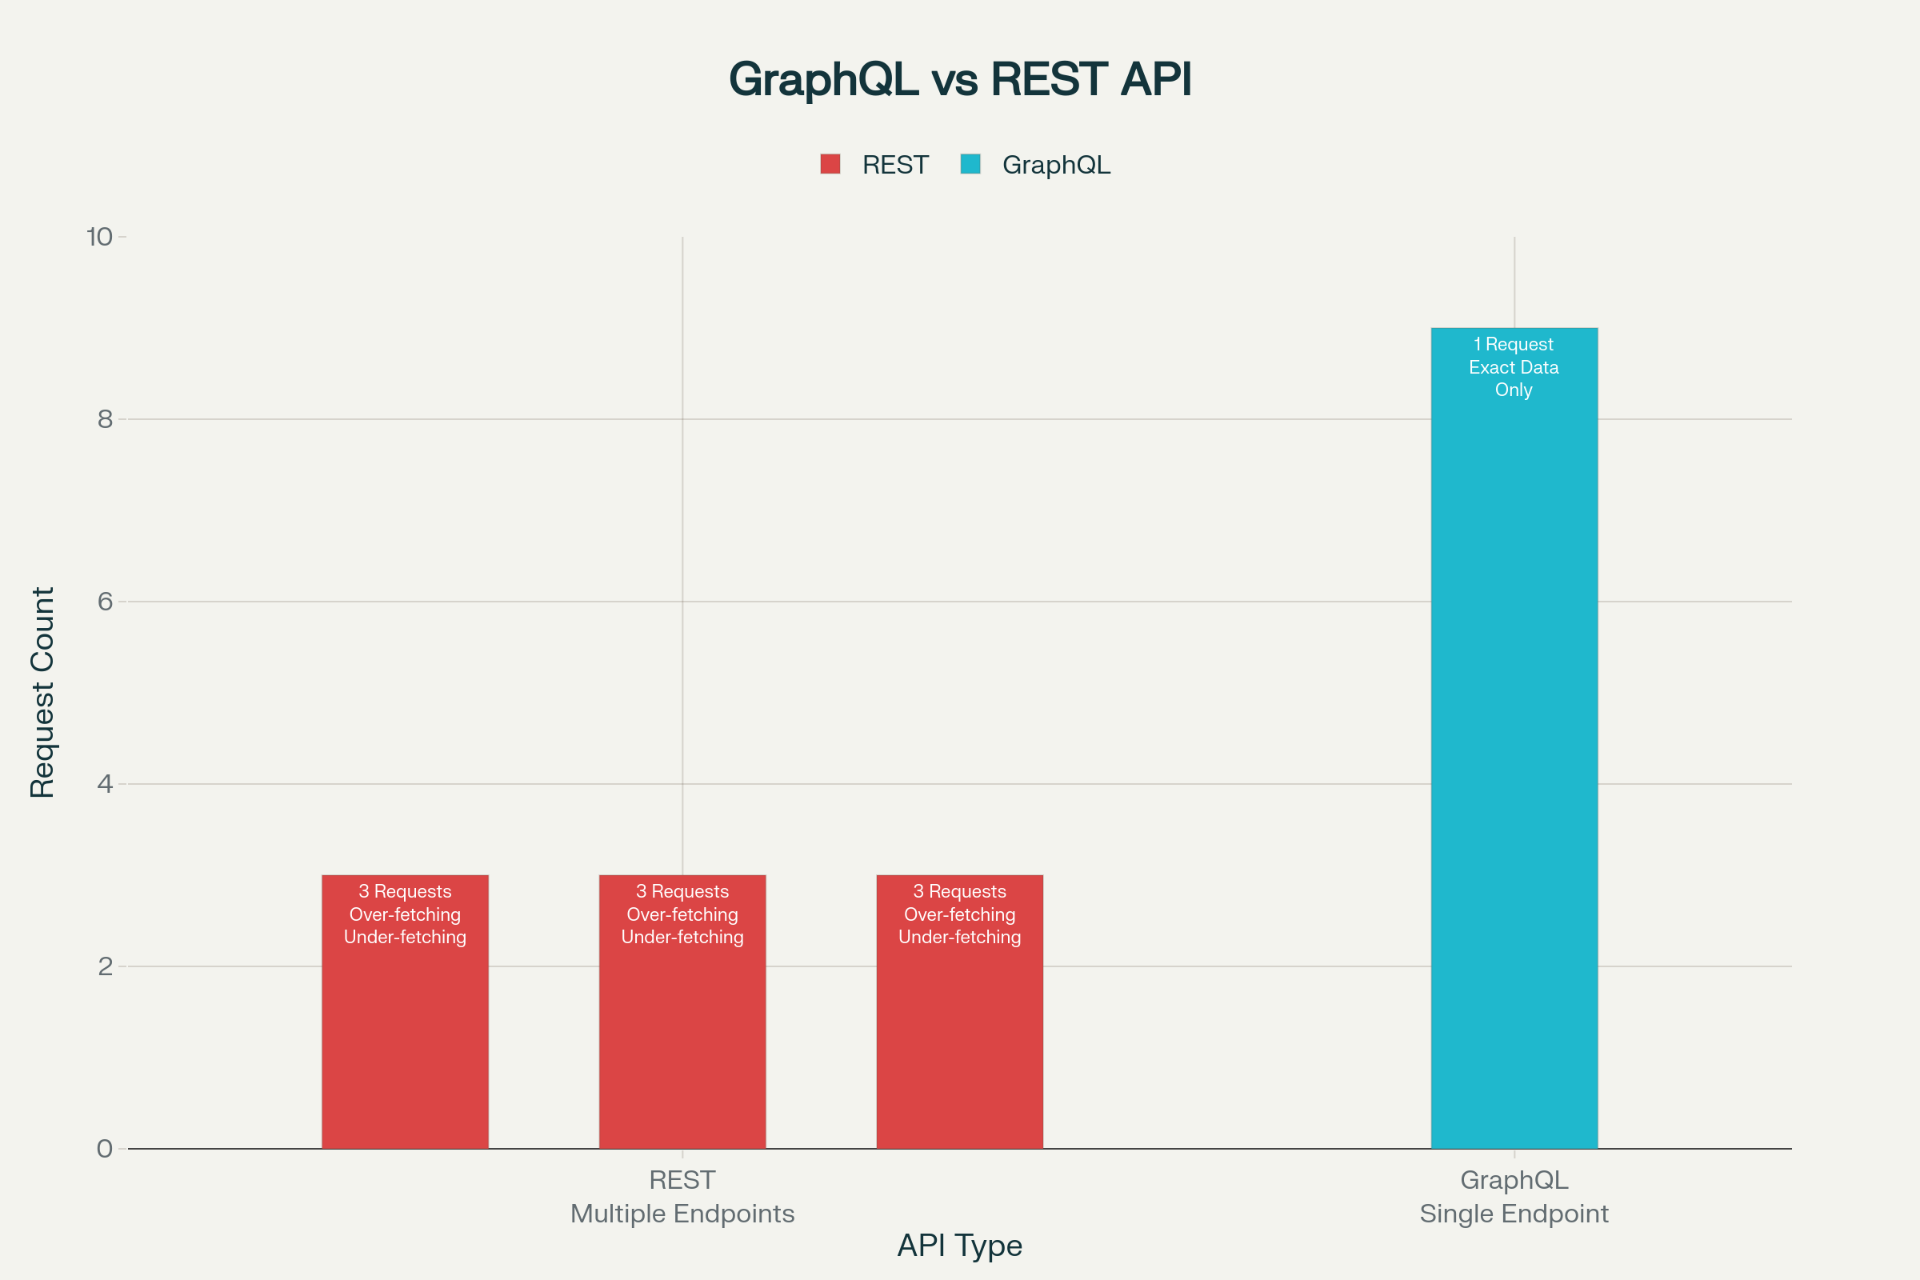
什么是 GraphQL? GraphQL 是一种现代的 API 查询语言,让你能够精确获取所需数据,不多不少。相比 REST API 需要多次请求不同端点,GraphQL 只需一个端点和一条查询就能获取所有相关数据。
为什么在 n8n 中使用 GraphQL? n8n 的 GraphQL 节点让您可以:
- • 🎯 精确查询:只获取需要的字段,减少数据浪费
- • ⚡ 高效交互:一次请求获取多层级关联数据
- • 🔌 与 1000+ 应用集成:GitHub、Shopify、Product Hunt 等
- • 🛡️ 灵活认证:支持 OAuth 2.0、API Key、Bearer Token 等多种方式
第一部分:GraphQL 基础概念
什么是 GraphQL?
GraphQL 是由 Facebook 开发的一种数据查询和操作语言。它提供了一个新的方式来与 API 交互。下面是 GraphQL 与 REST API 的对比:
| 特性 | GraphQL | REST API |
|---|---|---|
| 请求方式 | 单一端点 + 灵活查询 | 多个固定端点 |
| 数据获取 | 精确所需字段 | 所有字段(可能浪费) |
| 关联数据 | 单次请求获取 | 需要多次请求 |
| 学习曲线 | 中等(特定语法) | 较低(标准 HTTP) |
GraphQL 查询的三大核心概念
1️⃣ Query(查询)
用来读取数据,类似于 REST 的 GET 请求。
  query {
  user(id: "123") {
    name
    email
    avatar
  }
}
这个查询的执行流程:
- 1. 发送查询到 GraphQL 端点
- 2. 服务器验证查询语法和字段有效性
- 3. 只返回请求的三个字段(name、email、avatar),不会多返回其他字段
2️⃣ Mutation(变更)
用来修改数据,类似于 REST 的 POST/PUT/DELETE 请求。
  mutation {
  createUser(name: "张三", email: "zhangsan@example.com") {
    id
    name
    createdAt
  }
}关键区别:虽然看起来很像查询,但 mutation 明确表示这是一个会改变服务器状态的操作。
3️⃣ Variables(变量)
让查询动态化,避免硬编码。
  query GetUser($userId: ID!) {
  user(id: $userId) {
    name
    email
  }
}

# 变量值单独传递:
{
  "userId": "123"
}
为什么用变量?
- • ✅ 代码更清洁,避免字符串拼接
- • ✅ 类型安全(
ID!表示必需的 ID 类型) - • ✅ 便于缓存和权限控制
第二部分:n8n GraphQL 节点实战
节点参数详解
当你在 n8n 中添加 GraphQL 节点时,需要配置以下参数:
🔐 Authentication(认证方式)
选择合适的认证方式取决于你要访问的 API:
| 认证方式 | 场景 | 示例 |
|---|---|---|
| None | 公开 API | GitHub 公开数据、Product Hunt |
| API Key | 需要 Key 认证 | 大多数 SaaS 服务 |
| Bearer Token | JWT 或令牌认证 | GraphQL 专用 Token |
| OAuth 2.0 | 用户授权 | Google、GitHub 登录 |
| Basic Auth | 用户名密码 | 私有 API 服务器 |
提示:选择任何非"None"的认证方式时,会出现"Credential for..."参数供您选择或创建认证凭证。
🌐 HTTP Request Method(请求方法)
- • GET - 通常用于简单查询(少数情况)
- • POST - 用于复杂查询或变更(大多数情况选择 POST)
当选择 POST 时,需要选择Request Format:
- • GraphQL (Raw) - 纯 GraphQL 格式(直接写 GraphQL 语句)
- • JSON - 标准 JSON 格式(GraphQL 查询作为 JSON 字符串)
选择建议:
- • GraphQL (Raw) - 更简洁,适合简单查询
- • JSON - 更标准,便于变量处理
📍 Endpoint(端点 URL)
输入 GraphQL API 的完整端点地址,例如:
- • GitHub GraphQL:
https://api.github.com/graphql - • Product Hunt:
https://api.producthunt.com/graphql - • Shopify:
https://your-store.myshopify.com/admin/api/2024-01/graphql.json
检查清单:
- • ✅ 确认 URL 以
https://开头 - • ✅ 端点 URL 应该是根路由,不包含特定资源路径
- • ✅ 对于私有部署,确保网络连接可达
📋 Query(查询语句)
在这个字段中输入你的 GraphQL 查询或变更语句。支持多行输入。
  query GetUserInfo($userName: String!) {
  user(login: $userName) {
    name
    email
    repositories(first: 5) {
      totalCount
      nodes {
        name
      }
    }
  }
}
📤 Response Format(响应格式)
- • JSON - 返回标准 JSON 格式(推荐)
- • String - 返回字符串格式(特殊情况)
🔗 Headers(自定义请求头)
添加任何必需的 HTTP 请求头。常见的有:
- •
Authorization: Bearer YOUR_TOKEN - •
User-Agent: n8n/1.0 - •
Content-Type: application/json
🔒 Ignore SSL Issues(忽略 SSL 问题)
在开发或测试自签名 SSL 证书的服务器时可能需要启用。生产环境不推荐。
第三部分:实战案例 - 查询 GitHub 用户信息
让我们通过一个完整的、可直接导入 n8n 的工作流,学习如何使用 GraphQL 节点。
案例场景
查询 GitHub 用户的基本信息,包括:
- • 用户名、邮箱、个人简介
- • 粉丝数、关注数
- • 最近 10 个公开仓库及其星标数
工作流配置步骤
步骤 1️⃣:创建 Webhook 触发器(接收用户输入)
在 n8n 中添加一个 Webhook 节点:
- • Method: POST
- • 这将生成一个 URL,用于接收包含 GitHub 用户名的请求
请求体示例:
  {
  "username": "octocat"
}
步骤 2️⃣:添加 GraphQL 节点
配置以下参数:
| 参数 | 值 | 说明 |
|---|---|---|
| Authentication | None | GitHub API 公开部分不需要认证 |
| HTTP Request Method | POST | GraphQL 通常使用 POST |
| Request Format | JSON | 便于变量处理 |
| Endpoint | https://api.github.com/graphql | GitHub 官方 GraphQL 端点 |
| Response Format | JSON | 标准 JSON 返回格式 |
步骤 3️⃣:编写 GraphQL 查询
在 Query 字段中输入以下代码:
  query GetUserInfo($userName: String!) {
  user(login: $userName) {
    name
    email
    bio
    location
    company
    followers {
      totalCount
    }
    following {
      totalCount
    }
    repositories(first: 10, orderBy: {field: STARS, direction: DESC}) {
      totalCount
      nodes {
        name
        description
        stargazerCount
        forkCount
      }
    }
  }
}查询语句详解:
| 部分 | 说明 |
|---|---|
query GetUserInfo($userName: String!) | 定义查询名称和必需的字符串参数 |
user(login: $userName) | 根据登录名查询用户 |
followers { totalCount } | 获取粉丝总数 |
repositories(first: 10, orderBy: {...}) | 获取前 10 个仓库,按星标数降序排列 |
步骤 4️⃣:传递变量
在 GraphQL 节点的配置中,需要映射 Webhook 的输入到查询变量。
在 n8n 中找到 Variables 部分(如果使用 JSON 格式),输入:
  {
  "userName": "{{ $node[\"Webhook\"].json.username }}"
}表达式说明:
- •
{{ }}- n8n 表达式语法 - •
$node[\"Webhook\"]- 引用名为"Webhook"的节点 - •
.json.username- 访问 JSON 中的 username 字段
步骤 5️⃣:添加数据处理节点(可选但推荐)
添加一个 Set 节点来格式化和清理输出结果:
  // 提取有用的数据并格式化
return {
  user_name: $json.data.user.name,
  bio: $json.data.user.bio,
  location: $json.data.user.location,
  followers: $json.data.user.followers.totalCount,
  following: $json.data.user.following.totalCount,
  public_repos_count: $json.data.user.repositories.totalCount,
  top_repos: $json.data.user.repositories.nodes.map(r => ({
    name: r.name,
    description: r.description,
    stars: r.stargazerCount,
    forks: r.forkCount
  }))
}
完整工作流 JSON(直接导入 n8n)
复制以下 JSON 代码到 n8n 工作流编辑器,或通过"Import from File"导入:
  {
  "nodes": [
    {
      "parameters": {
        "httpMethod": "POST",
        "path": "github-user-query",
        "responseMode": "onReceived"
      },
      "id": "webhook-node",
      "name": "Webhook Trigger",
      "type": "n8n-nodes-base.webhook",
      "typeVersion": 1,
      "position": [250, 300]
    },
    {
      "parameters": {
        "authentication": "none",
        "method": "POST",
        "url": "https://api.github.com/graphql",
        "requestFormat": "json",
        "query": "query GetUserInfo($userName: String!) {\n  user(login: $userName) {\n    name\n    email\n    bio\n    location\n    company\n    followers {\n      totalCount\n    }\n    following {\n      totalCount\n    }\n    repositories(first: 10, orderBy: {field: STARS, direction: DESC}) {\n      totalCount\n      nodes {\n        name\n        description\n        stargazerCount\n        forkCount\n      }\n    }\n  }\n}",
        "sendQuery": true,
        "queryParameters": {},
        "sendBody": true,
        "bodyParametersJson": "={\n  \"query\": \"query GetUserInfo($userName: String!) {\\n  user(login: $userName) {\\n    name\\n    email\\n    bio\\n    location\\n    company\\n    followers {\\n      totalCount\\n    }\\n    following {\\n      totalCount\\n    }\\n    repositories(first: 10, orderBy: {field: STARS, direction: DESC}) {\\n      totalCount\\n      nodes {\\n        name\\n        description\\n        stargazerCount\\n        forkCount\\n      }\\n    }\\n  }\\n}\",\n  \"variables\": {\n    \"userName\": \"{{ $node[\\\"webhook-node\\\"].json.username }}\"\n  }\n}",
        "responseFormat": "json"
      },
      "id": "graphql-query-node",
      "name": "Query GitHub User",
      "type": "n8n-nodes-base.graphql",
      "typeVersion": 1,
      "position": [500, 300]
    },
    {
      "parameters": {
        "assignments": {
          "assignments": [
            {
              "name": "user_name",
              "value": "={{ $json.data.user.name }}"
            },
            {
              "name": "email",
              "value": "={{ $json.data.user.email }}"
            },
            {
              "name": "bio",
              "value": "={{ $json.data.user.bio }}"
            },
            {
              "name": "followers_count",
              "value": "={{ $json.data.user.followers.totalCount }}"
            },
            {
              "name": "public_repos_count",
              "value": "={{ $json.data.user.repositories.totalCount }}"
            },
            {
              "name": "top_repository",
              "value": "={{ $json.data.user.repositories.nodes[0]?.name }}"
            }
          ]
        }
      },
      "id": "set-output-node",
      "name": "Format Output",
      "type": "n8n-nodes-base.set",
      "typeVersion": 3,
      "position": [750, 300]
    }
  ],
  "connections": {
    "webhook-node": {
      "main": [
        [
          {
            "node": "graphql-query-node",
            "type": "main",
            "index": 0
          }
        ]
      ]
    },
    "graphql-query-node": {
      "main": [
        [
          {
            "node": "set-output-node",
            "type": "main",
            "index": 0
          }
        ]
      ]
    }
  },
  "active": false,
  "settings": {
    "timezone": "UTC"
  },
  "id": "github-graphql-workflow",
  "name": "GitHub User Info Workflow",
  "type": "workflow"
}
测试工作流
第 1️⃣ 步:保存并激活
- • 在 n8n 编辑器中点击保存按钮
- • 点击右上角开关按钮激活工作流
第 2️⃣ 步:获取 Webhook URL
- • 点击 Webhook Trigger 节点
- • 复制生成的 Webhook URL,格式如:
https://your-n8n.com/webhook/github-user-query
第 3️⃣ 步:发送测试请求
使用 curl 命令:
  curl -X POST https://your-n8n.com/webhook/github-user-query \
  -H "Content-Type: application/json" \
  -d '{"username": "octocat"}'
或使用 Postman:
- • 方法:POST
- • URL:
https://your-n8n.com/webhook/github-user-query - • Body (JSON):
  {
  "username": "octocat"
}
第 4️⃣ 步:查看执行结果
- • 点击工作流右侧的"Executions"标签
- • 查看最新的执行记录
- • 展开节点查看返回的数据
预期输出:
  {
  "user_name": "The Octocat",
  "email": null,
  "bio": "There once was...",
  "followers_count": 3938,
  "public_repos_count": 2,
  "top_repository": "Hello-World"
}
第四部分:常见错误及解决方案
| 错误 | 原因 | 解决方案 |
|---|---|---|
401 Unauthorized | 缺少或错误的认证 | 检查 API 密钥/Token 是否正确,是否已过期;查看 API 文档确认认证方式 |
400 Bad Request | GraphQL 查询语法错误 | 在 GraphiQL 浏览器中测试查询(GitHub 提供在线 Explorer),检查拼写、括号匹配 |
404 Not Found | 错误的端点 URL 或字段不存在 | 验证 API 文档中的端点地址;确认请求的字段在 API 中存在 |
Query too complex | 查询太复杂或请求过多数据 | 减少一次请求的字段数量;使用分页(first/after)限制数据量 |
SSL Certificate Error | SSL 验证失败(开发环境常见) | 启用 GraphQL 节点的"Ignore SSL Issues"(仅在开发环境) |
| 响应为 null | 查询字段存在但无数据 | 检查查询参数是否正确;确认该资源确实存在或有访问权限 |
调试技巧:
- 1. 使用 GraphQL 官方工具(如 GraphiQL、GraphQL Playground)测试查询
- 2. 在 n8n 中添加 Set 节点打印完整 JSON 响应
- 3. 查看 n8n 的执行历史了解传递的变量值
第五部分:进阶技巧
💡 技巧 1:使用 GraphQL 别名简化字段名
当需要同时查询相同字段的不同数据时,使用别名避免字段名重复:
  query {
  user(login: "octocat") {
    profile_name: name
    email_address: email
    follower_count: followers {
      totalCount
    }
    following_count: following {
      totalCount
    }
  }
}
这样返回的 JSON 中会使用别名作为键名,更易读。
💡 技巧 2:分页查询大数据集
不要一次请求所有数据,使用分页避免超时或内存问题:
  query GetRepos($after: String) {
  repositories(first: 10, after: $after) {
    pageInfo {
      endCursor
      hasNextPage
    }
    nodes {
      name
      stargazerCount
    }
  }
}
在 n8n 中创建循环来处理分页:
- • 第一次查询:不传
after参数 - • 检查
hasNextPage - • 如果为 true,用
endCursor作为after参数继续查询
💡 技巧 3:在 n8n 中链接多个 GraphQL 查询
在第二个 GraphQL 节点中引用第一个查询的结果:
  {
  "userId": "{{ $node[\"First GraphQL\"].json.data.user.id }}"
}
这样可以实现:
- 1. 查询 A:获取用户 ID
- 2. 查询 B:根据 ID 获取用户详情和关联数据
💡 技巧 4:处理 GraphQL 错误
GraphQL 即使发生错误也会返回 200 状态码,所以需要检查响应中的 errors 字段:
  if ($json.errors && $json.errors.length > 0) {
  throw new Error($json.errors[0].message);
}

return $json.data;
💡 技巧 5:条件片段(Fragment)优化复杂查询
对于非常复杂的查询,使用 Fragment 可以提高代码可读性:
  fragment UserFields on User {
  id
  name
  email
  bio
}

query GetUser($userName: String!) {
  user(login: $userName) {
    ...UserFields
    repositories(first: 5) {
      nodes {
        name
      }
    }
  }
}
第六部分:实战应用场景
📱 场景 1:定时抓取 GitHub 新仓库
流程:定时触发 → GraphQL 查询最新仓库 → 过滤条件 → 保存到数据库 → 发送 Slack 通知
使用场景:监控特定技术栈的新项目发布
🛍️ 场景 2:批量管理 Shopify 产品
流程:Webhook 接收产品列表 → GraphQL 查询 Shopify 库存 → 批量更新价格 → 同步到数据库
使用场景:电商自动化管理库存和价格
🎯 场景 3:监控 Product Hunt 热门商品
流程:定时触发 → GraphQL 获取热门产品 → 过滤和评分 → 存储到 Google Sheets → 邮件通知
使用场景:追踪行业动态和竞品信息
📊 场景 4:数据聚合仪表板
流程:并行 GraphQL 查询多个 API → 合并转换数据 → 生成 HTML 报告 → 邮件发送
使用场景:创建统一的数据仪表板,整合多个数据源
🔄 场景 5:数据同步工作流
流程:监听 A 系统 Webhook → GraphQL 查询 B 系统 → 比较差异 → 同步更新 → 记录日志
使用场景:在两个 GraphQL 系统之间保持数据一致性
总结
✅ 你已经学到了什么?
- • 理解 GraphQL 相比 REST API 的核心优势
- • 掌握 Query、Mutation、Variables 三大核心概念
- • 能够在 n8n 中配置 GraphQL 节点
- • 了解不同的认证方式和何时使用
- • 能够编写基本到中等复杂程度的 GraphQL 查询
- • 知道如何调试和处理常见错误
- • 理解如何将 GraphQL 节点与其他 n8n 节点组合使用
快速参考表
GraphQL 常用操作符
| 操作符 | 用途 | 示例 |
|---|---|---|
! | 必需字段 | $name: String! |
[ ] | 列表类型 | [String!]! |
first | 获取前 N 条 | repositories(first: 10) |
after | 游标分页 | repositories(first: 10, after: "cursor") |
orderBy | 排序 | orderBy: {field: STARS, direction: DESC} |
filter | 过滤 | filter: {state: OPEN} |
n8n 常用表达式
| 表达式 | 说明 |
|---|---|
{{ $json }} | 当前节点的完整 JSON 数据 |
{{ $node[\"NodeName\"].json }} | 访问其他节点的数据 |
{{ $json.data.user.name }} | 访问嵌套字段 |
{{ $json.items.map(i => i.id) }} | JavaScript 数组操作 |
引用链接
[1] 官方文档: https://docs.n8n.io/integrations/builtin/core-nodes/n8n-nodes-base.graphql/
[2] n8n系列教程: https://www.undsky.com/blog/?category=n8n%E6%95%99%E7%A8%8B#